Installing air conditioning in a camper van used to mean one of two uncomfortable compromises: either you plugged your rig into shore power at a crowded RV park, or you mounted an obnoxiously loud 3,000-watt inverter that converted 12V battery power into 120V alternating current, suffering a brutal 12% to 18% inversion efficiency loss just to run a standard rooftop unit.
Native 12V DC rooftop air conditioners have completely changed that dynamic for van life. By utilizing hermetic direct-current brushless (BLDC) variable-speed compressors, these units connect directly to your 12-volt house battery bus. There is zero inverter idle draw, zero standby inverter heat, and zero high-voltage AC shock hazard on your roof.
However, operating an air conditioner entirely from 12-volt lithium batteries requires hard mathematical discipline. You cannot cheat the laws of thermodynamics. In this guide, I break down the real-world performance numbers, electrical wiring requirements, and field test results from the top 12V van air conditioners on the road today.

Top 12V Camper Van Air Conditioners Compared
We benchmarked three leading native 12V DC rooftop systems across cooling capacity, continuous current consumption, compressor architecture, and real-world noise levels measured from the van mattress position directly below the ceiling plenum.
| Specification / Model | Dometic® CoolAir RTX 2000 | OutEquip® 12V 10K Rooftop | Gidrox® 12V 12K Heavy-Duty |
|---|---|---|---|
| Cooling Output | 6,824 BTU/h (2,000 W) | 10,000 BTU/h (2,930 W) | 12,000 BTU/h (3,516 W) |
| Compressor Type | Variable-Speed Inverter BLDC | Dual-Rotor Inverter DC | Rotary Hermetic 12V DC |
| Operating Voltage | 12V DC nominal (10.0V–15.0V) | 12V DC nominal (10.5V–15.0V) | 12V DC nominal (10.5V–15.0V) |
| Eco Mode Current Draw | 18 A to 24 A (≈ 230 W to 307 W) | 28 A to 35 A (≈ 358 W to 448 W) | 35 A to 42 A (≈ 448 W to 538 W) |
| Max / Boost Current Draw | 52 A to 58 A (≈ 665 W to 742 W) | 65 A to 78 A (≈ 832 W to 998 W) | 75 A to 90 A (≈ 960 W to 1,152 W) |
| Sound Level (Low Fan) | 42 dB(A) | 48 dB(A) | 52 dB(A) |
| Refrigerant Type | R-134a (Pre-charged) | R-134a (Pre-charged) | R-134a (Pre-charged) |
| Rooftop Cutout Size | Standard 14” × 14” (356 × 356 mm) | Standard 14” × 14” (356 × 356 mm) | Standard 14” × 14” (356 × 356 mm) |
| Unit Weight | 72.8 lb (33.0 kg) | 68.3 lb (31.0 kg) | 79.4 lb (36.0 kg) |
| Best Van Application | Sprinter 144 / Transit (Insulated) | Long Wheelbase 170 / Promaster | Hot Southern Climates / Poor Insulation |
1. Dometic® CoolAir RTX 2000: The Gold Standard for Power Efficiency
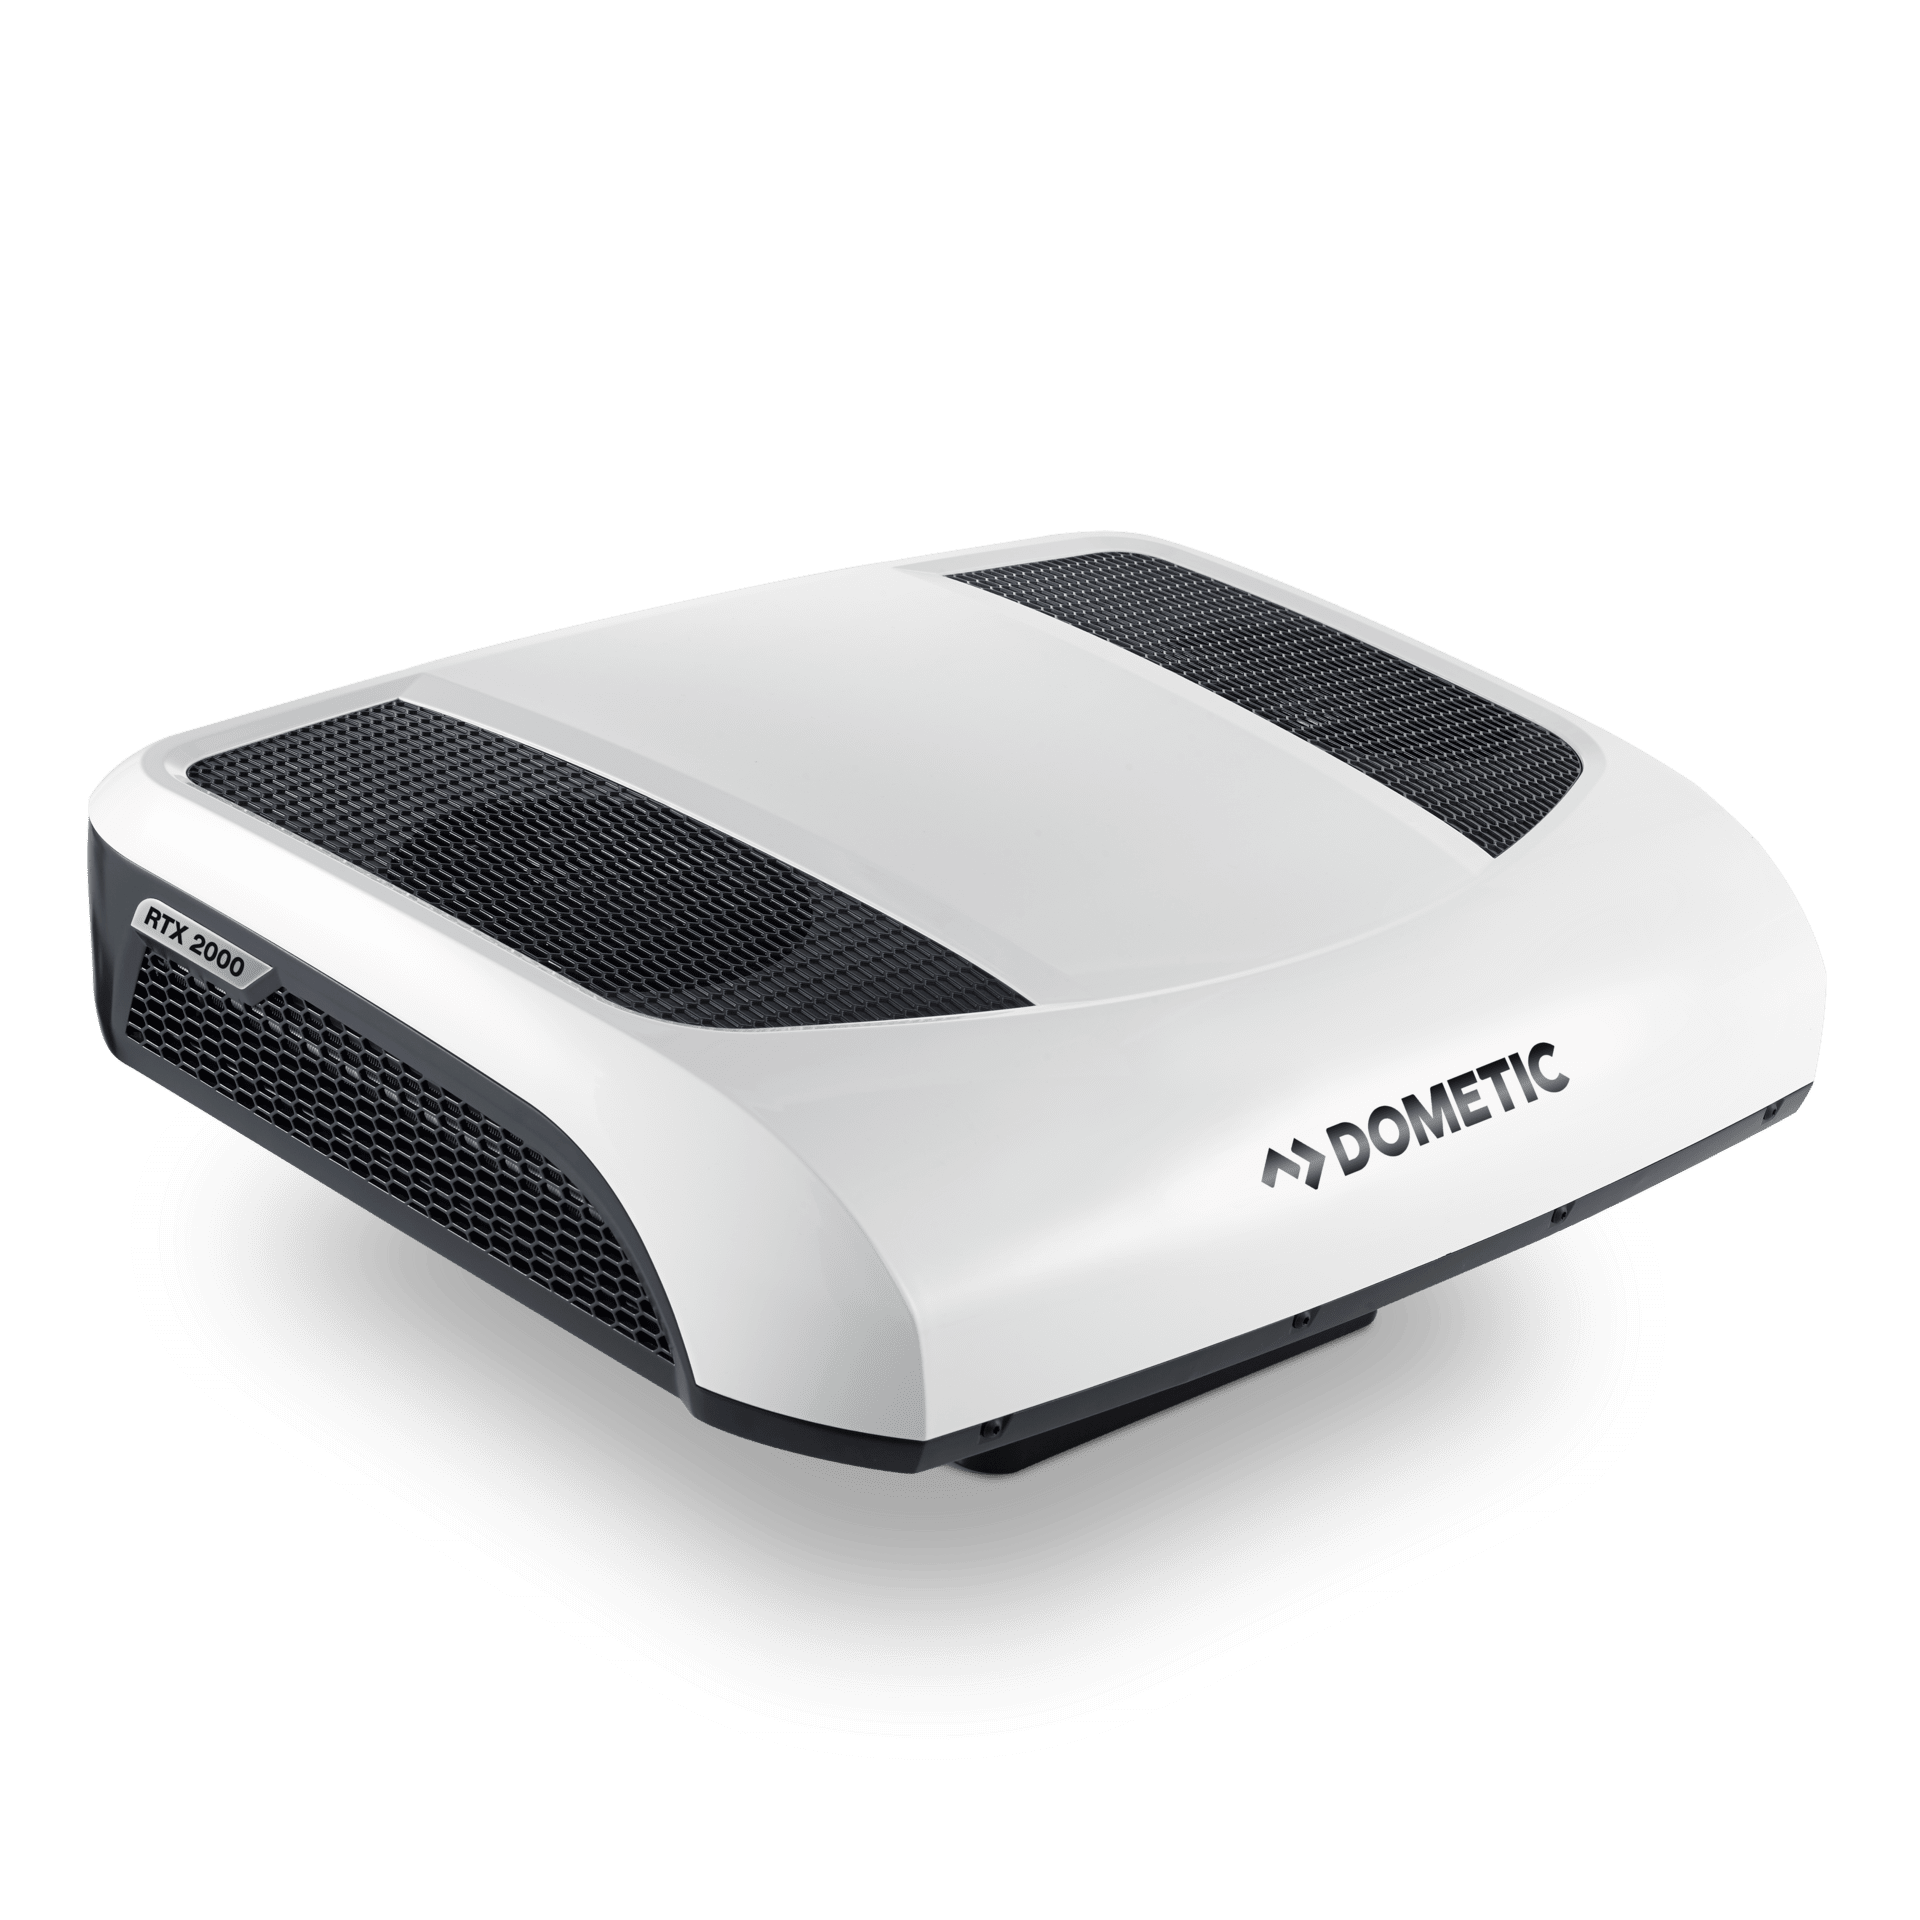
The Dometic® CoolAir RTX 2000 is widely regarded as the most refined native 12V air conditioner on the market. While its nominal output is rated at 6,824 BTU/h — modest compared to standard 13.5K rooftop units — its electrical efficiency is unmatched. In “Eco Mode,” the variable-speed compressor settles into a steady current draw of just 19 A to 22 A at 12.8V DC (approximately 250 watts).
That means you can run the RTX 2000 for eight continuous hours overnight through a hot humid night while consuming less than 175 Ah of battery capacity. For a deep technical teardown of the internal electronics and compressor curve, read our Dometic RTX 2000 12V review.
2. OutEquip® 12V 10,000 BTU: Maximum Cooling Punch for Medium Vans
If you park in full midday sun in the Utah desert or Texas summer heat, 6,800 BTU can struggle to pull a hot van interior down below 75°F (≈ 23.9°C). The OutEquip® 12V Rooftop AC steps up to a true 10,000 BTU cooling output.
On maximum turbo cooling, it pulls 68 A to 74 A of continuous 12V power. Once the cabin reaches temperature and the thermostat ramps the compressor into stage-one maintenance, current drops to 32 A. It is louder than the Dometic unit by about 6 dB, but for a 170” wheelbase camper van, that extra 3,200 BTU of cooling reserve is essential. Explore our extended field testing in our OutEquip 12V 10000 BTU air conditioner review.
3. Gidrox® 12V 12,000 BTU: Heavy-Duty Cooling with Integrated Heat
For large cargo van conversions and custom motorhome builds that require both high-output cooling and winter warming, the Gidrox® 12V Rooftop Unit delivers 12,000 BTU of air conditioning backed by an auxiliary heating circuit. It draws substantial current (up to 85 A at full load), demanding a dedicated 600 Ah minimum lithium battery bank. Check out our teardown of this unit in our Gidrox 12000 BTU 12V review.
Battery Bank Sizing: The Hard Mathematics of Off-Grid Run Time
The most common mistake amateur van builders make is underestimating battery capacity. You cannot run a 12-volt air conditioner on lead-acid, AGM, or a solitary 100 Ah lithium battery.
Lithium Iron Phosphate (LiFePO4) Requirement: A 12V air conditioner requires a stable operating voltage. Lead-acid batteries suffer from Peukert’s law: high continuous current draw (40A to 60A) causes terminal voltage to sag prematurely below 11.0V, triggering the air conditioner’s low-voltage cut-out within 45 minutes. Lithium iron phosphate (LiFePO4) maintains a flat discharge voltage curve (12.8V to 13.2V) until 90% depleted.
Calculating Runtime on LiFePO4 Battery Banks
Let us examine real-world runtime across three standard camper van lithium bank configurations operating in average summer conditions (ambient 88°F / 31.1°C with the van interior thermostat set to 73°F / 22.8°C, yielding an average duty cycle of 32 Amps):
| LiFePO4 Battery Capacity | Total Usable Energy (Wh) | Continuous Run Time (Turbo 65A) | Cycling / Eco Run Time (Avg 30A) | Overnight Sleep Run (Avg 20A) |
|---|---|---|---|---|
| 200 Ah Bank (2,560 Wh) | 2,300 Wh (at 90% DoD) | ≈ 2.8 Hours | ≈ 6.0 Hours | ≈ 9.0 Hours |
| 400 Ah Bank (5,120 Wh) | 4,600 Wh (at 90% DoD) | ≈ 5.5 Hours | ≈ 12.0 Hours | ≈ 18.0 Hours |
| 600 Ah Bank (7,680 Wh) | 6,900 Wh (at 90% DoD) | ≈ 8.3 Hours | ≈ 18.0 Hours | ≈ 27.0 Hours |
| 800 Ah Bank (10,240 Wh) | 9,200 Wh (at 90% DoD) | ≈ 11.0 Hours | ≈ 24.0+ Hours | Multi-Day Sustainable |
基本放电时间计算公式: 可用运行时间(小时) = [电池标称容量(Ah) × 0.90 实际放电深度] ÷ 空调平均直流工作电流(A)
To achieve true indefinite off-grid boondocking during summer months, your camper van requires balanced recharging inputs:
- Rooftop Solar Array: 400W to 800W of monocrystalline solar panels generating 20A to 45A of charge current during peak sun hours.
- DC-to-DC Alternator Charger: A 50A to 60A DC-DC smart charger (such as a Victron® Orion-Tr or Renogy® DCC50S) that replenishes the battery bank while driving between campsites.
Critical 12V Electrical Wiring and Cable Sizing Rules
A 120V air conditioner draws only 12 Amps through small 14 AWG household wire. But when you supply identical cooling power at 12 Volts DC, current increases tenfold to 60 or 70 Amps.
Under 70 Amps of continuous DC load, inadequate cable diameter causes dangerous resistive heating, melted wire insulation, and severe voltage drop. If your battery terminals register 13.1V, but voltage at the roof drops to 11.4V, your compressor will shut down with an error code.
Maximum 3% Voltage Drop Cable Sizing Table (12.8V DC System)
| Round-Trip Cable Distance (Positive + Negative) | Up to 35A Continuous (Eco Mode) | Up to 60A Continuous (Medium Load) | Up to 90A Continuous (Turbo / High Load) |
|---|---|---|---|
| 10 Feet (3.0 m) | 6 AWG (13.3 mm²) | 4 AWG (21.2 mm²) | 2 AWG (33.6 mm²) |
| 15 Feet (4.6 m) | 4 AWG (21.2 mm²) | 2 AWG (33.6 mm²) | 1/0 AWG (53.5 mm²) |
| 20 Feet (6.1 m) | 2 AWG (33.6 mm²) | 1 AWG (42.4 mm²) | 2/0 AWG (67.4 mm²) |
| 25 Feet (7.6 m) | 1 AWG (42.4 mm²) | 1/0 AWG (53.5 mm²) | 3/0 AWG (85.0 mm²) |
Wiring Best Practice: Always use high-strand tinned marine-grade oxygen-free copper (OFC) cable (SAE J1127 / ABYC approved). Never use cheap copper-clad aluminum (CCA) automotive audio wire, which oxidizes rapidly under moisture and exhibits substantially higher internal resistance.
Overcurrent Protection and Disconnects
Install an ignition-protected, manual-reset surface-mount thermal circuit breaker — such as a Blue Sea Systems® 187-Series 80A or 100A Breaker — directly on the positive cable within 12 inches of the main battery distribution bus. This acts as both essential short-circuit protection and a convenient manual battery disconnect switch for seasonal storage.
Camper Van Roof Installation: Corrugated Roof Adapters
Unlike flat fiberglass motorhome roofs, cargo vans (Mercedes-Benz® Sprinter, Ford® Transit, and RAM® ProMaster) feature stamped sheet metal roofs with structural reinforcement ribs.
- Rooftop Rib Adapters: Never attempt to smash a flat 14” × 14” closed-cell foam gasket across corrugated roof ribs. The gaps between the valleys will leak water into your headliner on the first rainstorm. You must install a CNC-machined high-density plastic or UV-stabilized polyurethane roof adapter collar custom-molded to your specific van’s rib contours.
- Structural Wood Framing: The sheet metal on a van roof is thin (typically 20 to 22 gauge). When you torque the four internal mounting bolts, the steel roof will dimple downward. Fabricate an internal wooden perimeter frame from 1” × 2” clear white pine or Baltic birch plywood sandwiched between the ceiling ribs to support the 75-pound rooftop load.
- Sealing the Penetration: Coat the underside of the plastic rib adapter with 3M® 5200 Fast Cure Marine Adhesive Sealant or Sikaflex® 221. Seat the adapter, allow it to cure, and then position the air conditioner’s 14” × 14” neoprene gasket dry on top of the adapter collar.
For a broader look at the whole 12-volt landscape across travel trailers and motorhomes, explore our complete benchmark roundup of the best 12V RV air conditioner 2026 models.
View current prices and customer ratings for native 12V rooftop air conditioners on Amazon