Jayco is the single largest manufacturer of travel trailers and fifth wheels in North America. From the lightweight Jay Flight SLX series to tandem-axle White Hawk campers and luxury Eagle fifth wheels, hundreds of thousands of Jayco RVs are currently on the road. Yet across different production years, Jayco has partnered with different HVAC suppliers—transitioning from legacy Coleman-Mach® systems to modern Furrion® Chill and Dometic® platforms, often paired with their proprietary Magnum Truss™ roof system and directional duct transitions.
When a Jayco AC unit begins blowing lukewarm air, trips pedestal breakers, or struggles against intense summer solar heat, finding accurate replacement information can be frustrating. Dealership service desks often quote over $2,000 for standard replacements without explaining whether your specific roof curb uses a ducted foam divider or standard 14” × 14” direct-discharge geometry.
This guide delivers verified technical benchmarks, factory wiring specifications, and direct retrofit procedures for Jayco travel trailers and fifth wheels.
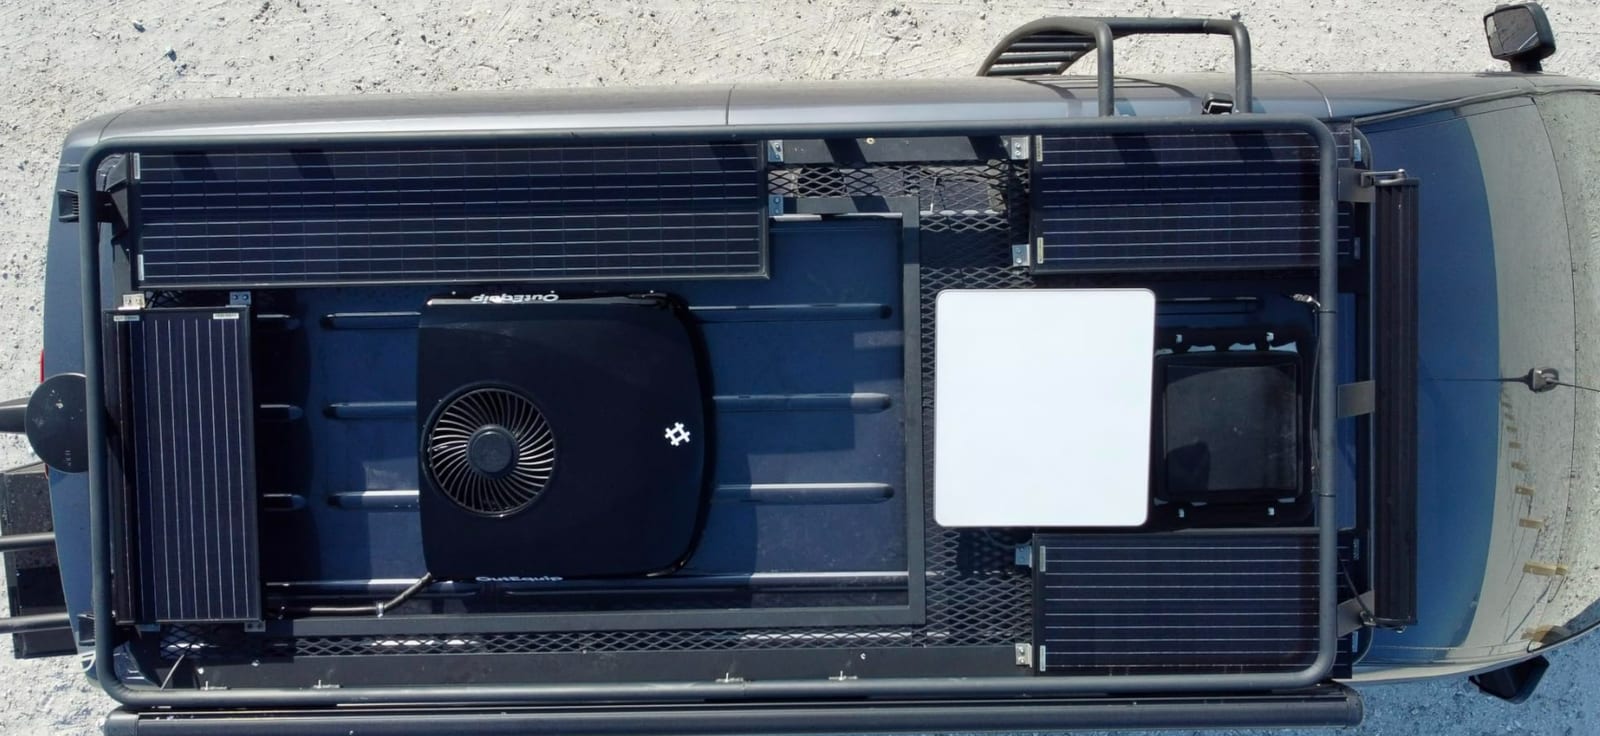
Factory HVAC Systems Across Jayco Model Lines
Jayco matches air conditioner capacity to the interior cubic volume and structural framing of each model family. Understanding what came installed from the factory helps you determine whether you should perform a direct like-for-like swap or upgrade to higher BTU cooling.
| Jayco Model Series | Typical Trailer Length | Factory Standard AC Unit | Optional / Second AC Prep | Ducting System |
|---|---|---|---|---|
| Jay Flight SLX 7 / 8 | 16 to 21 Feet | 8,000 BTU Side-Mount or 13.5K Rooftop | Non-Prepped (Single 30A Service) | Direct Discharge (Non-Ducted) |
| Jay Flight (Standard) | 24 to 34 Feet | 13,500 BTU Rooftop (Coleman or Furrion) | 15,000 BTU Upgrade Option | Helix Linear Ducted System |
| White Hawk / Jay Feather | 22 to 32 Feet | 13,500 or 15,000 BTU Rooftop | 50A Service Prep on Select Floorplans | Fully Ducted Return & Supply |
| Eagle HT / Eagle Travel Trailer | 28 to 38 Feet | 15,000 BTU High-Capacity Main | Pre-Wired for 13.5K Bedroom Unit | Whisper Quiet Dual-Duct System |
| Seismic / North Point (Toy Hauler / 5th Wheel) | Over 35 Feet | Dual 15,000 BTU Heat Pump Units | Optional Third 13.5K Garage Unit | Triple-Zone Multiplex System |
On smaller single-axle Jay Flight SLX models, factory configurations often utilized compact side-mount wall air conditioners or 13,500 BTU non-ducted rooftop units. On standard Jay Flight and White Hawk units over 26 feet, Jayco employs central ducting. If you own a dual-slide or bunkhouse model over 28 feet and frequently camp across the American Sunbelt or desert Southwest, upgrading from a 13.5K to a 15,000 BTU high-output unit is the single most effective way to drop interior cabin temperatures below 75°F (≈ 23.9°C) during peak daylight hours.
For broader trailer sizing calculations and power draw benchmarks across different slide-out layouts, consult our travel trailer air conditioner guide.
The Magnum Truss Roof System and 14” × 14” Opening
A defining structural feature of Jayco trailers is the arched Magnum Truss™ roof system. Jayco engineers build roofs capable of supporting 4,500 pounds using 2” × 2” vertical wood studs, oversized nail plates, and 3/8” plywood decking covered by seamless Alpha-Ply or TPO membrane.
Universal Opening Dimension: Despite the arched roof curvature, Jayco maintains the North American RV standard 14.25” × 14.25” (362 mm × 362 mm) rough roof opening across all rooftop installations. The factory installs solid wood structural framing between the ceiling panel and exterior plywood curb to handle the mechanical clamping force of four long corner mounting bolts.
Because the structural opening is standardized, you can replace a factory Jayco AC unit with any standard commercial replacement—including top-rated models from Coleman-Mach®, Dometic®, or Furrion®—without modifying structural rafters or cutting the roof membrane.
Diagnosing Common Jayco AC Unit Failures
Before investing in a complete rooftop replacement, run through this systematic diagnostic checklist to isolate whether the issue originates from low voltage, a failed start component, or a breached sealed refrigeration circuit.
| Symptom Observed | Likely Root Cause | Diagnostic Test Procedure | Recommended Resolution |
|---|---|---|---|
| Blower fan spins, compressor hums then clicks off | Weakened or blown dual run capacitor | Test capacitance (µF) between C and HERM terminals with a digital multimeter | Replace run capacitor (typically 45–55 µF, costs under $30) |
| Campground pedestal 30A breaker trips on startup | High Locked Rotor Amps (LRA) exceeding breaker curve | Measure starting inrush current using a digital clamp meter with Inrush function | Install an electronic soft starter or check for low campsite voltage |
| Unit runs continuously but air is not cold (Delta-T < 10°F) | Refrigerant leak or severely clogged condenser coils | Measure intake vs discharge air temperature after 15 min; inspect aluminum fins | Clean coils with foaming cleaner; if freon has leaked, replace rooftop unit |
| Water drips from interior ceiling grille during rain | Degraded mounting gasket or loose corner bolts | Inspect interior plenum bolts for correct torque; check roof membrane seal | Tighten mounting bolts to 40–50 in-lb or replace 14” × 14” neoprene gasket |
| Evaporator coil freezes into a solid block of ice | Collapsed return divider or restricted cabin airflow | Inspect ceiling divider baffle for cold air leaks; check washable return filter | Seal divider edges with UL 181 aluminum foil tape; wash intake filter |
Routine preventative maintenance prevents more than 80% of premature compressor burnouts. For complete step-by-step instructions on cleaning aluminum coils and testing electrical components safely, follow our RV air conditioner maintenance guide.
Replacing a Factory Jayco AC: Step-by-Step Retrofit
If testing reveals that your compressor windings are grounded or the hermetic sealed system has lost its refrigerant charge, a complete rooftop replacement is the only reliable long-term solution.
Step 1: Electrical De-Energization
Unplug your Jayco shore power cable from the electrical supply pedestal. Turn off the coach inverter and disable any automatic generator start functions. Inside the main electrical panel, switch the 20A branch circuit breaker labeled “A/C” to the OFF position. Disconnect the 12V house battery disconnect switch to kill low-voltage thermostat power.
Step 2: Interior Ceiling Plenum Disassembly
Remove the interior cosmetic filter grilles and plastic lower shroud. Unscrew the four long steel corner bolts that secure the interior stamped metal mounting frame to the rooftop unit above. Disconnect the 120V AC Romex power leads (black hot, white neutral, bare copper ground) and disconnect the low-voltage thermostat control plug.
Step 3: Sealing the Baffle on Jayco Ducted Systems
On ducted Jayco trailers, the vertical return air divider separates cold supply air entering the roof duct runs from warm room return air entering the evaporator.
- Inspect the factory foil-faced foam divider.
- If the divider has shifted or deteriorated, cold supply air will cycle straight into the return plenum, starving the trailer duct runs and freezing the evaporator within thirty minutes.
- Cut a rigid foam board to exact height and seal both vertical seams with high-temperature UL 181 aluminum foil tape.
Step 4: Gasket Compression and Bolt Torquing
Position the new rooftop unit over the 14” × 14” roof curb. Ensure the pre-installed 1-inch thick closed-cell neoprene gasket rests flat and centered over the clean membrane. From inside the RV, tighten the four corner mounting bolts in an alternating crisscross pattern.
Crucial Gasket Torque Metric: Tighten corner mounting bolts until the 1.00-inch (≈ 25.4 mm) gasket compresses down to approximately 0.50 inch (≈ 12.7 mm)—a 50% mechanical compression. Use an inch-pound torque wrench to torque each bolt to 40 to 50 in-lb (4.5 to 5.6 N·m). Never over-tighten beyond 50 in-lb, which distorts the metal base pan and creates roof leaks.
For a comprehensive physical walkthrough of hoisting units and wiring junction boxes, consult our RV air conditioner installation guide.
Power Management: Running on Portable Generators
Many Jayco owners camp in state parks, national forests, or boondocking locations without electrical hookups. A factory 15,000 BTU unit pulls approximately 14.5 Amps running (≈ 1,740 Watts), but its instantaneous starting surge demands up to 55 Amps (over 6,000 Watts) for a fraction of a second.
To run your Jayco AC unit off-grid without hauling a heavy 4,000-watt commercial generator:
- Retrofit a Soft Starter: Installing an advanced electronic soft starter reduces compressor startup current by up to 65% to 70%, lowering inrush spikes from 55A down to under 18A.
- Compact Generator Capability: With a soft starter installed, a single quiet 2,200-watt inverter generator (such as a Yamaha® EF2200iS or Honda® EU2200i) easily starts and runs a 15K rooftop unit on a warm day. Learn how soft starter microcontrollers calculate motor ramps in our deep-dive on the soft starter for RV AC.
If you are replacing an older legacy system or comparing quotes from local repair shops, review our complete cost analysis in the RV AC replacement cost guide and our annual performance benchmarks in the best RV air conditioner 2026 models.
Explore top-rated replacement rooftop air conditioners for Jayco RVs on Amazon